Sep 15, 2026
Starting a private label gel polish line becomes much simpler when we follow a controlled process: define the product brief, select a qualified Gel Polish Manufacturer, verify formulas and compliance, test samples, approve packaging, and manage production with documented quality checks. In this How to Start a Private Label Gel Polish Line: A Buyer’s Roadmap, I explain how we can move from an initial idea to a market-ready collection while controlling cost, quality, safety, and delivery risk with ISAYNAIL.
!
A private label nail polish project is more than placing a logo on a bottle. We are building a cosmetic product system that includes:
A suitable Gel Polish Manufacturer should therefore provide more than a catalog. We should expect technical communication, sample development, packaging coordination, production control, and export support.
ISAYNAIL can be evaluated as a development partner by requesting a complete product specification, sample process, packaging options, quality-control plan, and compliance documentation before placing a bulk order. This approach helps us avoid a common problem: choosing a supplier based only on a low unit price and discovering later that the product has poor curing, unstable color, leaking bottles, or incomplete paperwork.
The first operational step is to create a product brief. A precise brief allows the Gel Polish Manufacturer to quote accurately and reduces repeated revisions.
Decide whether the first collection will include:
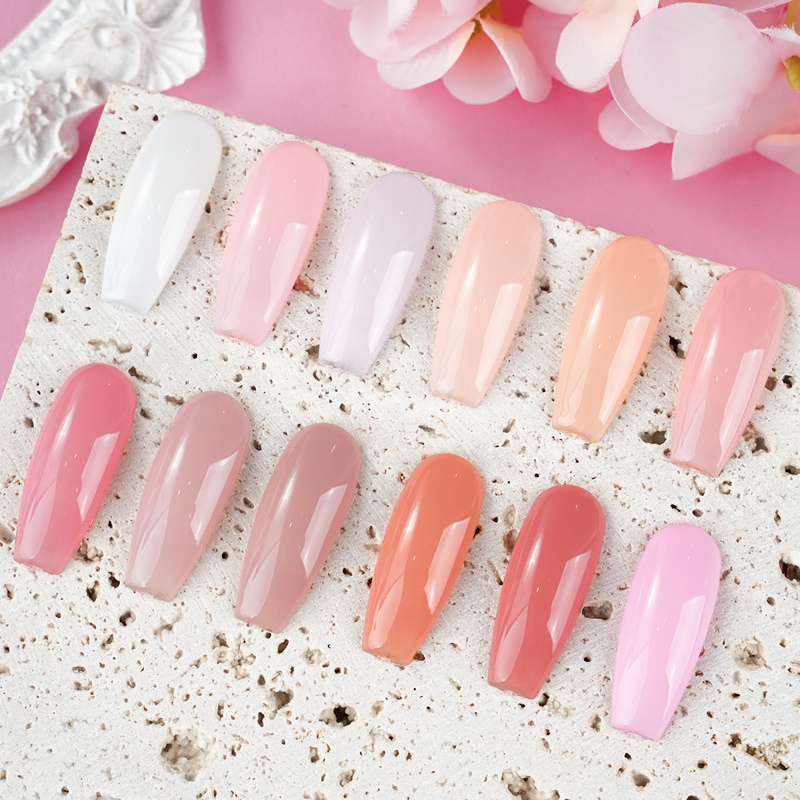
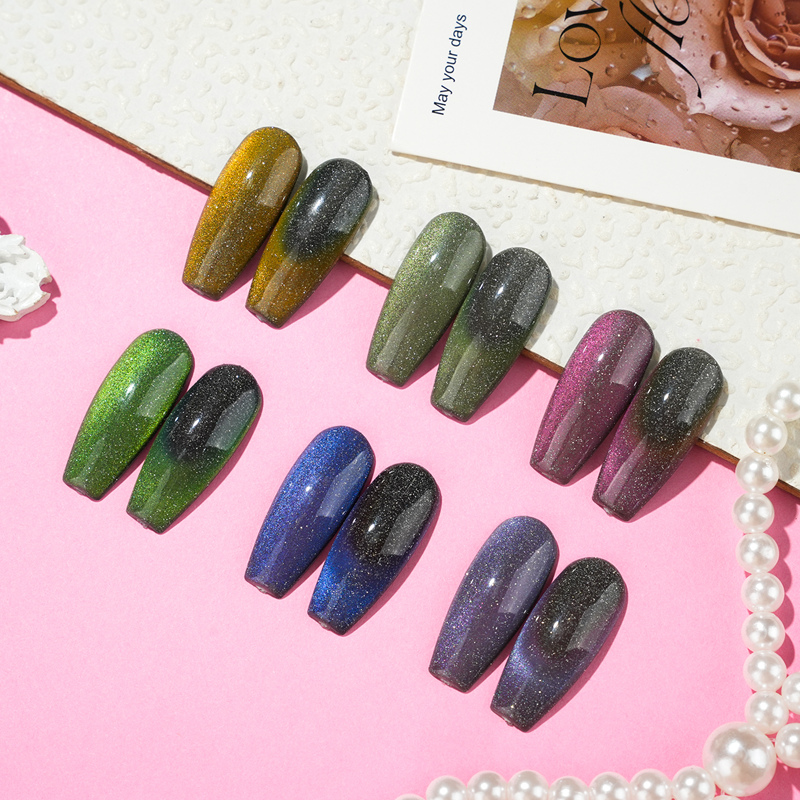
For a new brand, I recommend beginning with a focused system rather than launching 100 unrelated colors. A practical starter range may include:
This structure makes inventory management easier and allows us to test market demand before expanding.
Our brief should include:
We should also identify whether the product will be sold in the European Union, United States, United Kingdom, Canada, Australia, or other markets. Cosmetic requirements vary by destination, and the formula, label, safety file, and responsible-person obligations may change accordingly.
The supplier evaluation stage is where many private label projects succeed or fail. We should compare manufacturers using documented criteria rather than relying on attractive product photos.
Ask ISAYNAIL or any potential Gel Polish Manufacturer for:
A professional supplier should be able to explain the difference between a sample approval and a final production approval. We should also confirm whether the formula is manufactured in the same facility that handles filling and packing, because outsourced processes can introduce additional quality and communication risks.
For each product, request measurable information rather than general claims. Examples include:
For packaging components, precision may need to be controlled to 0.01 mm in selected tooling or dimensional specifications. This does not mean every cosmetic package requires that tolerance; it means we should define the critical dimensions that affect cap fit, brush alignment, and leakage.
Once the product brief is accepted, the next stage is sample development. I recommend ordering physical samples instead of approving color cards alone. Gel polish can appear different on a printed chart, inside a bottle, on a nail tip, and under salon lighting.
For every sample, record:
Test each sample under consistent conditions. For example:
A formula that cures well in one lamp may under-cure in another. We should therefore test with the lamp type that our customers are most likely to use.
A practical private label gel polish test plan may include:
| Test area | What to check | Suggested evidence |
|---|---|---|
| Cure performance | Surface cure, under-cure, wrinkling | Lamp wavelength and cure-time record |
| Adhesion | Lifting, peeling, edge failure | Internal test or ASTM D3359-based comparison where appropriate |
| Color consistency | Shade variation between batches | Approved master sample and color tolerance |
| Viscosity | Application flow and brush loading | Defined viscosity range |
| Stability | Separation, pigment settling, odor, color shift | Accelerated and real-time stability records |
| Packaging | Leakage, cap fit, brush alignment | Filled-package inspection |
| Label durability | Smearing, peeling, solvent resistance | Finished-package inspection |
ASTM D3359 is commonly associated with coating adhesion testing. Gel polish is a cosmetic coating, so the exact test method should be agreed with the manufacturer and adapted to the application rather than copied without technical judgment. For cosmetic manufacturing controls, ISO 22716 is a more relevant reference for Good Manufacturing Practices. We should request evidence of the manufacturer’s GMP system or equivalent documented procedures.
Compliance is not a final-stage formality. It should be reviewed before the label is printed and before bulk production begins.
Depending on the target market, we may need:
For European Union sales, we should review the requirements under Regulation (EC) No. 1223/2009, including the responsible person, safety assessment, product notification, and labeling. For United States sales, we should review applicable Food and Drug Administration cosmetic requirements and MoCRA obligations.
We should never assume that “private label” automatically means the product is compliant in every country. The brand owner remains responsible for confirming the legal requirements of the markets where the products are sold.
Before printing, verify:
Claims must be supportable. If we use “HEMA-free,” “10-free,” “vegan,” or “cruelty-free,” we should obtain written formula confirmation and supporting records instead of treating the claim as a marketing shortcut.
Packaging affects product performance, brand perception, and shipping safety. A high-quality formula can still generate complaints if the bottle leaks or the brush applies unevenly.
Inspect:
UV/LED-curable formulas may be sensitive to light exposure. We should ask the Gel Polish Manufacturer how the formula should be protected during filling, storage, and transportation. Dark or opaque packaging may be appropriate for certain formulas, but this should be confirmed through compatibility and stability testing.
For export shipments, we should also check carton dimensions, gross weight, pallet configuration, and drop-test expectations. These details influence freight cost and damage rates.
Before bulk manufacturing, approve a signed or digitally documented pre-production sample. This sample should represent the actual formula, bottle, brush, label, cap, and carton that will be produced.
A golden sample should include:
We should keep one sample for our internal reference and provide one controlled reference to the factory. Any change to pigment, brush, bottle, cap, label stock, or formula should require written approval.
This step prevents “silent substitutions,” where a supplier changes a component because the original item is unavailable. Even a small brush or pigment change can affect application and customer reviews.
A professional Gel Polish Manufacturer should use documented in-process and final inspections. We should agree on inspection points before the purchase order is issued.
A supplier may state that it performs 100% inspection for selected appearance or filling steps. We should clarify exactly what “100% inspection” covers and whether records are retained. For statistical final inspection, we should agree on an acceptable quality limit and sampling plan rather than relying on a vague “quality check.”
ISAYNAIL should also be asked about its corrective-action process. If a batch fails inspection, the manufacturer should identify the root cause, define containment, and document the corrective action before release.
The lowest unit cost is not always the lowest total cost. We should calculate:
For a new brand, we can reduce risk by:
The correct MOQ depends on the formula, packaging, color development, and production line. We should request a quotation at several quantities, such as 500, 1,000, and 3,000 units per SKU, to understand the price curve.
Pigments, mixing time, viscosity, and filling conditions can cause shade differences.
Solution: Keep a retained master sample, define a color tolerance, and require batch comparison before release.
This may result from excessive application thickness, incompatible lamp output, pigment loading, or insufficient curing time.
Solution: Publish clear application instructions, test the formula with recommended lamps, and validate both thin-coat and salon-use conditions.
Lifting can be related to nail preparation, base-coat compatibility, contamination, or formulation problems.
Solution: Test the complete system rather than testing the color coat alone. Provide professional preparation and removal instructions.
Leaks may come from cap torque, damaged inner plugs, bottle-neck tolerances, or temperature changes during transport.
Solution: Request filled-package leakage testing, inspect closure components, and conduct a transport simulation before a large shipment.
Private label projects involve artwork, formula, packaging, compliance, and shipping. Slow responses can affect the launch date.
Solution: Establish one project manager, use a shared specification sheet, and request a written response within 24 hours for urgent production or quality issues.
A factory may provide a basic ingredient list but not the complete documentation required for a target market.
Solution: Prepare a country-specific compliance checklist before production and have a qualified regulatory professional review the final file.
We can manage the project more efficiently with:
Useful file naming should include the SKU, revision, and date. For example:
Before placing a production order, I recommend confirming these points in writing:
The most reliable way to start a private label gel polish line is to manage it as a documented product-development project rather than a simple purchase. We should begin with a narrow collection, create a detailed brief, compare suppliers, test complete systems, approve a golden sample, verify compliance, and inspect production before shipment.
This How to Start a Private Label Gel Polish Line: A Buyer’s Roadmap gives us a practical sequence for reducing formulation, packaging, regulatory, and inventory risks. By working with ISAYNAIL and evaluating every stage through measurable specifications, documented testing, and clear approvals, we can build a professional gel polish brand that is easier to launch, scale, and protect in competitive international markets.
None
Related Products
Nail Art Beauty, Nail Salon, Nail SPA, or Training
Nail Art Beauty, Nail Salon, Nail SPA, or Training
Nail Art Beauty, Nail Salon, Nail SPA, or Training
Nail Art Beauty, Nail Salon, Nail SPA, or Training
Nail Art Beauty, Nail Salon, Nail SPA, or Training
Nail Art Beauty, Nail Salon, Nail SPA, or Training

You can trust us to deliver the best nail products in the market
10 years experience manufacture
Navigation
Navigation
Contact Us
+86 156 2229 8411
802, No. 75, Hanxing Middle Road, Zhongcun Street, Panyu District, Guangzhou City, Guangdong Province, China